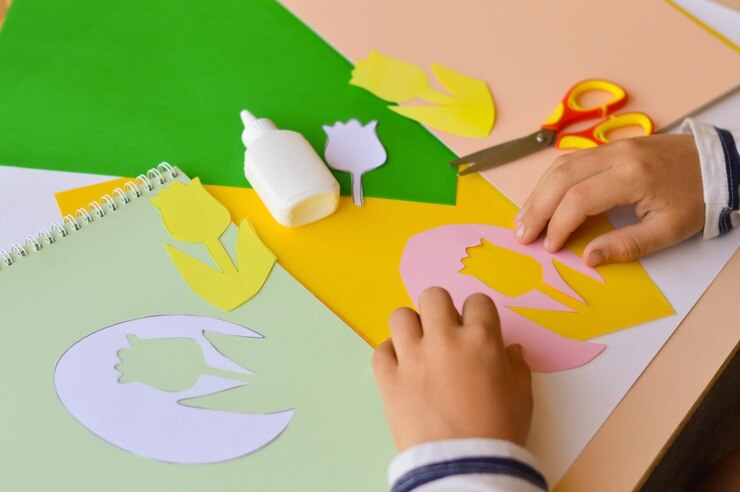
Just like any game, art and craft are interesting for kids too. As we all know, kids love learning with joyousness. This is why teaching them paper art is easier than anything else. With papers, they make whatever they want and enjoy it much more than they enjoy studying. Making easy paper flowers is one of the art and craft activities they like so much.
Paper crafts inspire your preschooler to think critically. They have endless possibilities as they work through their project, so this is an excellent learning opportunity to see how their choices affect the outcome. If they do something well or make a choice that they like, they are likely to repeat it. On the other hand, if they see that a decision didn’t have the outcome they wanted, they can adjust to improve the next time. Critical thinking activities make your child more likely to explore their own ideas and find new, creative ways to reach a goal.
A study reveals that art and crafts can help children learn many life skills. Paper flower crafts for preschoolers are guaranteed to build their sensory, cognitive, and emotional skills. Whether folding, cutting, or joining pieces of paper to make something, it helps boost their motor coordination. To help introduce your little one to art and craft, here is a collection of simple paper flowers for children that you can consider having a look at.
1. 5-petal flowers
Step 1: Make a paper square
Start with a square piece of paper, preferably thin or lightweight.
Step 2: Fold the square in half
Step 3: Mark the ⅓ point.
Mark the one-third point from the top of the left edge. You can either estimate this point or measure it with a ruler.
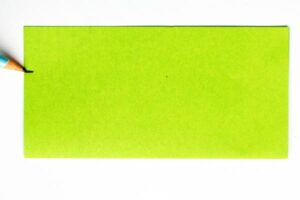
Step 4: Fold the bottom right corner up towards the one-third point.

Step 5: Fold up the bottom left corner over the right edge.

Step 6: Fold down the top right corner over the left edge.

Step 7: Cut along the horizontal edge so that you come up with a wedge.

Step 8: Draw an arc and cut.
Draw an arc starting from the top left corner of the wedge to about ½-inch from the bottom of the opposite side. This arc defines the shape of the flower petals. Cut along the line.

Step 9: Unfold the paper.
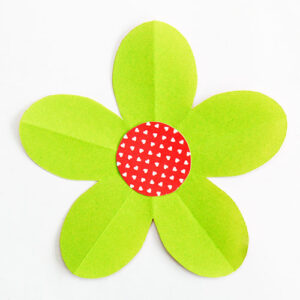
Unfold the paper to reveal a 5-petal flower. Cut a circle from paper, craft, foam, felt, or fabric. Glue this at the center of the flower.
2. 6-petal flowers
Step 1: Make a paper square
Start with a square piece of paper, preferably thin or lightweight.
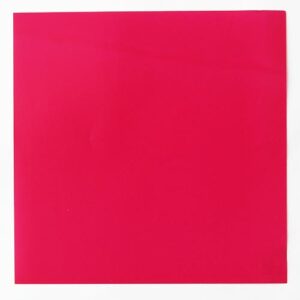
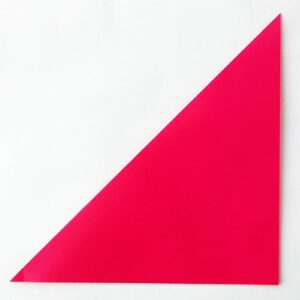
Step 2: Fold the square diagonally in half to create a triangle.
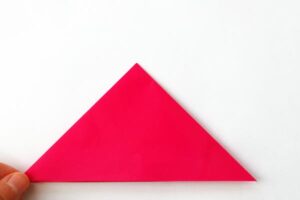
Step 3: Fold in half
Fold the resulting triangle in half to make a smaller triangle.
Step 4: Divide the triangle into 3 sections.
Turn the triangle so that the solid corner (the corner corresponding to the paper’s center) is at the bottom. Divide the triangle into 3 equal sections, each with a 30-degree angle. The most accurate way to do this is to use a protractor. If you don’t have a protractor, you can estimate the size of the sections as you do Steps 5 and 6.

Step 5: Fold the left section towards the front.
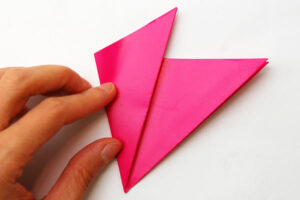
Step 6: Similarly, fold the right section towards the front.
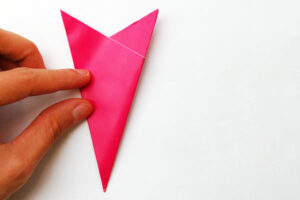
Step 7: Cut along the horizontal edge.
Flip the entire shape over so that the side with the horizontal edge faces the front. Cut along the flat edge so that you come up with a wedge.
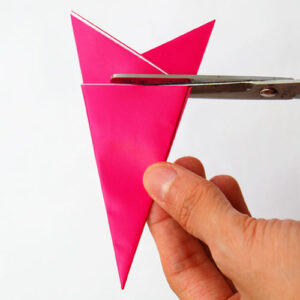
Step 8: Draw an arc and cut.
Draw an arc starting from one top corner and ending about ½-inch from the bottom of the opposite side. Cut along the line.

Step 9: Unfold the paper.
Unfold the paper to reveal a six-petal flower. Cut a circle from paper, craft, foam, felt, or fabric. Glue it at the center of the flower.
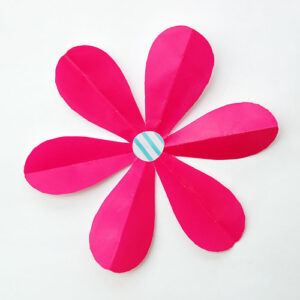
3. Basket of Flowers
Step 1: Print out the basket template
Print out any of these basket templates. Print the first page twice if you chose the medium-sized or large basket templates. The printed template should have two main basket pieces and one handle.
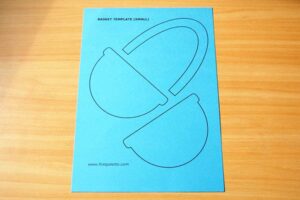
Step 2: Cut out all three template pieces.

Step 3: Glue the handle.
Glue the ends of the handle onto the top portion of a basket piece.

Step 4: Apply glue.
Apply glue along the outer edge of the basket piece. Remember to leave out the top.

Step 5: Glue the two basket pieces.
Glue the second basket piece on top of the first, aligning them at the edges.

Step 6: Decorate the basket.
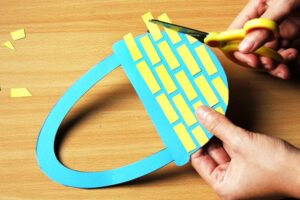
Decorate the basket with stickers, bows, buttons, beads, and other materials. You can also draw patterns or add some sparkle with glitter glue. You can also create a woven basket effect by gluing short strips of paper or washi tape into neat rows. Trim the excess length of paper strip or washi tape at the edges of the basket.
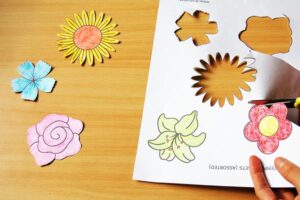
Step 7: Make some flowers.
Use 5-petal flowers you made or cut from the template.
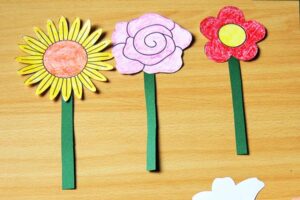
Step 8: Add stems.
Make stems by cutting 4-inch long strips of green construction paper or cardstock. You can also use craft sticks or pipe cleaners as stems. Glue a branch at the back of each flower.
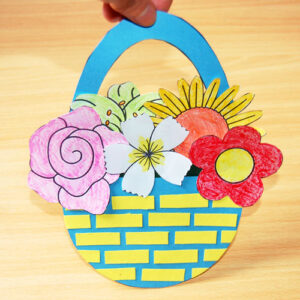
Step 9: Put the flowers in the basket.
Place the flowers inside the basket through the basket’s top slot. Trim the stems if they’re too long.

Step 10: Use your basket of flowers.
It is ready for you to be a special gift for your teacher on Teacher’s Day.
Paper flower crafts for kids that are easy to make and attractive can draw their interest and develop their creative skills. Moreover, indulging your child in art and crafts such as paper flower making also helps promote motor skill development and hand-eye coordination. To begin with, pick a simple craft such as a paper daisy or five-petal flower making. We hope these suggestions will be beautiful ideas for kids to make flowers for their teacher on Vietnamese Teacher’s Day.
Reference:
Folding Paper Flowers (5 Petals)
Folding Paper Flowers (8 Petals)
Basket of Flowers


